
Many homeowners look up at their dark, outdated living rooms or kitchens and dream of a modern, clean look. Upgrading your fixtures is a fantastic way to transform your space, but a common question often stops projects in their tracks: Can recessed lighting be installed in existing ceilings without tearing down the drywall?
The short answer is a resounding yes. You do not need to gut your home or remove your entire ceiling to enjoy the sleek, modern aesthetic of recessed lights. Professional electricians use specific techniques and specialized “recessed retrofit” housings designed specifically for existing ceilings.
Whether you want to brighten up a historic Midtown Victorian or modernize a mid-century home in Land Park, adding recessed lighting is entirely feasible. This comprehensive guide will walk you through the technical feasibility, the step-by-step installation process, local Sacramento electrical codes, and the immense benefits of retrofitting your home’s lighting system.
Understanding the Feasibility: Can It Be Done?
Retrofitting recessed lighting into an existing ceiling is one of the most popular home improvement projects. The process involves cutting precise holes in the drywall or plaster and feeding wiring through the ceiling cavity from fixture to fixture.
Retrofit Housings vs. New Construction Housings
To understand how this works, you must know the difference between the two main types of recessed lighting housings.
New construction housings are bulky. They feature large metal frames that must be nailed or screwed directly into the ceiling joists before the drywall goes up. If your ceiling is already finished, installing these would require ripping down large sections of drywall, which is costly and messy.
Retrofit housings, also known as remodel housings, are specifically engineered for existing ceilings. They slip directly into a hole cut into the drywall. Instead of attaching to the wooden joists, these housings feature specialized metal clips. Once the housing is pushed into the hole, these clips expand and clamp down onto the top of the drywall, securing the light firmly in place. This clever design completely eliminates the need for major demolition.
Assessing Your Ceiling Space
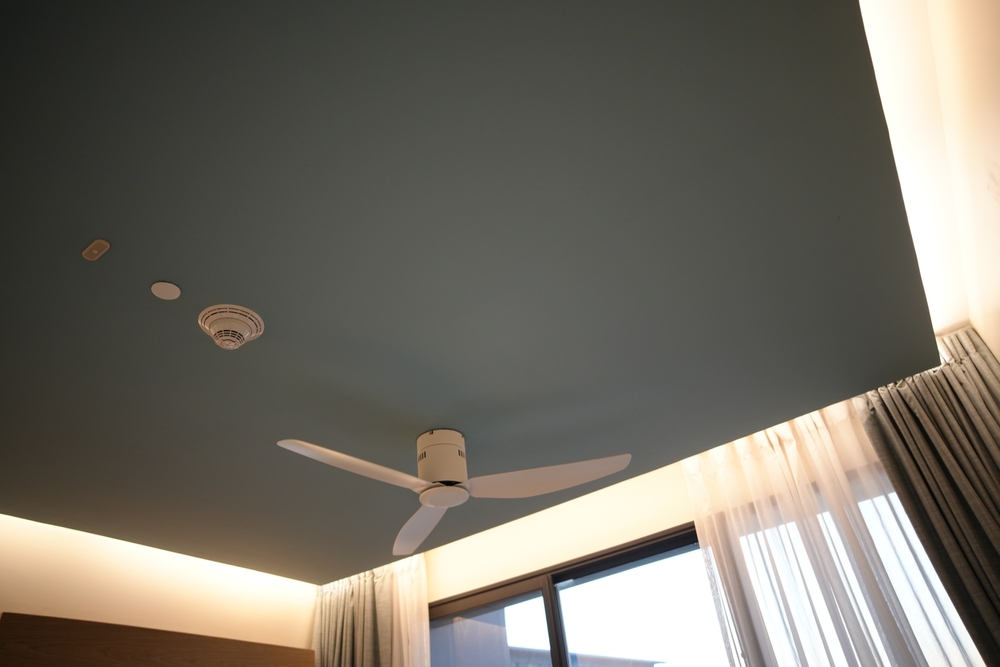
Before installation begins, a professional will assess the space above your ceiling. The area must have enough clearance to accommodate the housing. Most standard remodel housings require about six to eight inches of vertical clearance. However, if your home features shallow ceilings or if you want to install lights directly under a second-story floor, ultra-thin LED wafer lights offer an excellent alternative. These modern fixtures require as little as half an inch of clearance and can even be mounted directly under a ceiling joist.
Sacramento Home Styles and Recessed Lighting Challenges
Sacramento boasts a diverse range of architectural styles, from charming historic builds to sprawling suburban homes. Each style presents unique considerations when installing lighting in existing ceilings.
Historic Victorians and Craftsman Homes in Midtown
If you own a beautiful Victorian or Craftsman home in Midtown or East Sacramento, you likely have lath and plaster ceilings rather than modern drywall. Plaster is notoriously brittle and prone to cracking. Cutting holes in plaster requires extreme care, specialized hole saws, and a steady hand. Additionally, older homes often feature knob-and-tube wiring or outdated electrical panels that may need upgrading before new fixtures can be added safely.
Mid-Century Modern Homes in Land Park
Many homes built in the 1950s and 60s feature unique rooflines, sometimes with flat roofs or vaulted ceilings with very little attic space. In these scenarios, running wire can be challenging because there is no traditional attic to crawl through. Electricians must skillfully “fish” wires through narrow ceiling cavities. Ultra-thin LED downlights are often the perfect solution for these older homes because they bypass the need for deep housing cans entirely.
Newer Builds in Natomas and Elk Grove
Homes constructed in the last few decades typically feature standard drywall and truss roof systems. These ceilings are generally the easiest to work with. There is usually ample attic space, making it easy to run new wiring and map out the perfect lighting layout. The primary concern in newer homes is ensuring the new lights do not interfere with thick layers of blown-in insulation or HVAC ductwork.
The Installation Process: What to Expect
Adding lights to an existing ceiling is a methodical process. While it sounds simple in theory, it requires precision, electrical expertise, and a solid understanding of structural layouts.
Step 1: Planning and Layout
The first step is determining where the lights will go. A well-planned layout ensures even illumination and prevents harsh shadows. Generally, recessed lights should be spaced about four to six feet apart, depending on the ceiling height and the wattage of the bulbs. The layout must account for the primary use of the room. A kitchen needs bright task lighting over the counters, while a living room benefits from softer, ambient light.
Step 2: Locating Ceiling Joists and Obstacles
Once the ideal layout is drafted, an electrician will use a stud finder to locate the ceiling joists. It is crucial to ensure that the planned hole locations do not overlap with a wooden joist. If a joist sits exactly where a light needs to go, the layout must be adjusted, or an ultra-thin LED fixture must be used. Electricians also check for hidden plumbing pipes or HVAC ducts running through the ceiling cavity.
Step 3: Cutting the Holes
With the layout finalized and obstacles avoided, the electrician traces a template onto the ceiling. Using a drywall saw or a specialized hole saw attachment on a drill, they cut precise circles. A dust bowl or vacuum is often used during this step to capture falling drywall dust and keep your home clean.
Step 4: Running the Wiring
This is the most technically demanding part of the job. Wires must be routed from the power source (usually an existing wall switch) up into the ceiling and then from one hole to the next. This process, known as “fishing” wire, involves using long, flexible fiberglass rods to pull the electrical cables through the hidden ceiling cavity. If you are upgrading multiple rooms or suspect your current wiring is outdated, it may be time to look into more comprehensive electrical services to ensure your home’s entire system is up to standard.
Step 5: Connecting and Securing the Fixtures
Once the wiring reaches each hole, the electrician strips the wire ends and connects them to the junction box attached to the remodel housing. The wires are secured with wire nuts and safely tucked into the box. The housing is then slid up into the hole, and the internal metal clips are locked into place against the drywall. Finally, the LED trim is snapped into the housing, sitting flush against the ceiling for a clean, finished look.
Navigating Sacramento Electrical Codes and Permits
Any electrical work performed in Sacramento must comply with local building codes to ensure safety and energy efficiency.
Title 24 Compliance
California has some of the strictest energy codes in the country, known as Title 24. These regulations require that all newly installed lighting in residential properties meets high energy efficiency standards. When you install new recessed lighting, you must use high-efficacy light sources. Fortunately, almost all modern LED recessed lights comply with Title 24 requirements. They consume a fraction of the electricity used by traditional incandescent bulbs and last decades longer.
Insulation Contact (IC) Ratings
Sacramento gets incredibly hot in the summer, making attic insulation vital for keeping your home cool. If you are installing recessed lights in a ceiling that has an attic directly above it, the housing must be “IC-rated” (Insulation Contact). This rating means the light fixture is designed to safely touch attic insulation without overheating and causing a fire hazard. Non-IC rated fixtures must have a clearance of at least three inches from any insulation, which is difficult to maintain and reduces the energy efficiency of your home.
Why You Might Need an Inspection
Depending on the scope of your project, you may need a permit from your local building department. Adding a few lights to an existing circuit might not require extensive permitting, but running a brand new dedicated circuit back to your electrical panel almost certainly will. To ensure your new lighting meets all safety standards and local regulations, it is highly recommended to schedule a professional electrical inspection in Sacramento. An inspection guarantees that your wiring is safe, up to code, and free from hidden fire hazards.
The Benefits of Retrofitting Recessed Lighting
Choosing to install recessed lighting in your existing ceilings comes with a host of benefits that go far beyond basic illumination.
Enhanced Room Aesthetics
Recessed lights offer a minimalist, streamlined appearance. Unlike bulky chandeliers or semi-flush mounts that hang down and clutter your visual space, recessed lights sit flush with the ceiling. This clean aesthetic blends seamlessly with any interior design style, allowing your furniture and artwork to take center stage.
Making Spaces Feel Larger
Rooms with low ceilings often feel cramped, especially when traditional light fixtures hang down into the walking space. Recessed lighting eliminates this intrusion. By pushing the light source up into the ceiling, you create an optical illusion that makes the ceiling feel higher and the entire room feel more spacious and open.
Better Energy Efficiency with LEDs
Retrofitting your home provides the perfect opportunity to upgrade to LED technology. LEDs use up to 90% less energy than traditional incandescent bulbs and generate significantly less heat. This is a crucial benefit during long Sacramento summers. Less heat from your light bulbs means your air conditioning system doesn’t have to work as hard, leading to noticeable savings on your monthly energy bills.
Customization and Control
Modern LED recessed lights offer incredible customization. You can choose fixtures with adjustable color temperatures, allowing you to switch between warm, cozy light for relaxing evenings and cool, bright light for daytime tasks. When paired with a compatible dimmer switch, you gain complete control over the mood and ambiance of your home.
Potential Challenges and How to Overcome Them
While installing recessed lighting in an existing ceiling is entirely possible, it is not without its challenges.
Dealing with Plaster and Lath Ceilings
As mentioned earlier, older Sacramento homes often have plaster ceilings. Plaster is messy and difficult to cut. The vibration from cutting tools can cause large sections of plaster to crack or detach from the wooden lath underneath. Professional electricians overcome this by taping the ceiling before cutting, using high-speed, fine-tooth saws, and working slowly to preserve the integrity of the historic ceiling.
Accessing Difficult Areas
Sometimes, fireblocks or thick wooden beams obstruct the ceiling cavity, making it impossible to fish a wire from one hole to the next. In these rare cases, an electrician may need to cut a small, temporary access hole in the drywall to drill through the obstruction. While this requires a minor drywall repair afterward, a skilled electrician keeps these access holes as small and inconspicuous as possible.
Why Hire a Professional Electrician?
Watching a quick online tutorial might make retrofitting seem like an easy weekend DIY project. However, working with electricity is inherently dangerous. A simple mistake in wiring can lead to a blown circuit, an electrical shock, or a devastating house fire.
Professional electricians possess the tools, knowledge, and experience to safely navigate hidden obstacles, fish wires through blind ceiling cavities, and ensure every connection is tight and secure. They understand how to balance electrical loads to prevent your breakers from tripping. For a flawless finish and total peace of mind, investing in professional recessed lighting installation is always the smartest choice.
Illuminate Your Home with TNT Electric
You do not have to live with dark, outdated rooms just because your ceilings are already finished. With the right tools and expertise, retrofitting recessed lighting is a smooth, transformative process that breathes new life into your home.
If you are ready to modernize your Sacramento home with beautiful, energy-efficient lighting, trust the experts at TNT Electric. Our licensed electricians have years of experience navigating the unique architectural styles and electrical codes of the Sacramento area. We handle everything from precise layouts to clean, code-compliant installations. Contact TNT Electric today to schedule your consultation and see your home in a whole new light.
Our Services at a Glance
At TNT Electric, we are a licensed electrical company based in Citrus Heights, CA, proudly serving the Sacramento area with dependable, professional service.
View Services
